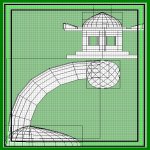
 Creating Landscapes
Once your first five or so rocks are attatched to one of the
walls, you can then select them all and use the 'spacebar'
to clone them and cover the rest of the surrounding walls.
Simply use the 'z-axis' button to rotate them and just slide
them into place. Don't be overly concerned if they don't
match up perfectly as they're just being used to give a
natural look to the surrounding walls. Use the 'organics'
folder in textures to cover your brushes.
Creating Landscapes
Once your first five or so rocks are attatched to one of the
walls, you can then select them all and use the 'spacebar'
to clone them and cover the rest of the surrounding walls.
Simply use the 'z-axis' button to rotate them and just slide
them into place. Don't be overly concerned if they don't
match up perfectly as they're just being used to give a
natural look to the surrounding walls. Use the 'organics'
folder in textures to cover your brushes.

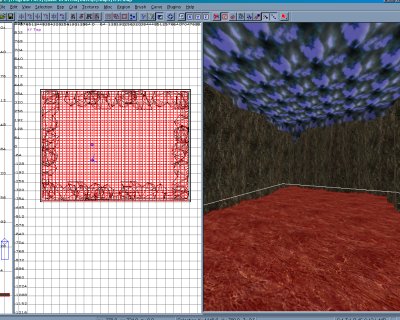 Once the rocky face is finished the next step is to add a rolling
landscape to cover the center of the room. I've cloned the
bottom brush of the bounding box and placed the new brush
on top. Now with the new brush selected use the 'curves'
option on the toolbar and choose 'simple patch mesh'. A
pop-up window will appear asking for a number between 3
and 15. The higher the number the more detail that you'll
be able to create but your frames will suffer. This will turn the
brush into a flat patch just like an endcap or cone.
Once the rocky face is finished the next step is to add a rolling
landscape to cover the center of the room. I've cloned the
bottom brush of the bounding box and placed the new brush
on top. Now with the new brush selected use the 'curves'
option on the toolbar and choose 'simple patch mesh'. A
pop-up window will appear asking for a number between 3
and 15. The higher the number the more detail that you'll
be able to create but your frames will suffer. This will turn the
brush into a flat patch just like an endcap or cone.
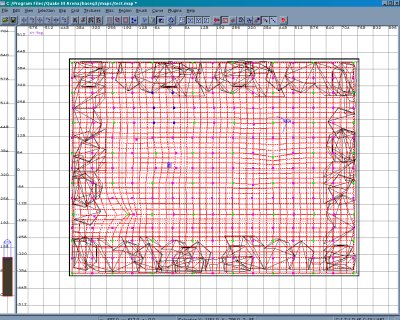
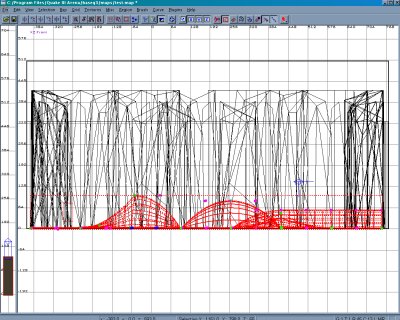 The next trick will be to create mounds with the new patch
so that a landscape starts to appear. If you look down on
the patch and use the vector tool you'll see the points that
make up the geometry of the patch. By using this veiw you
can select multiple points by holding down the mouse1
button and highlight with blue the desired parts of the
patch. With the points selected simply switch to a side
veiw and pull up the grouped points to create a mound.
The next trick will be to create mounds with the new patch
so that a landscape starts to appear. If you look down on
the patch and use the vector tool you'll see the points that
make up the geometry of the patch. By using this veiw you
can select multiple points by holding down the mouse1
button and highlight with blue the desired parts of the
patch. With the points selected simply switch to a side
veiw and pull up the grouped points to create a mound.