 Custom Textures
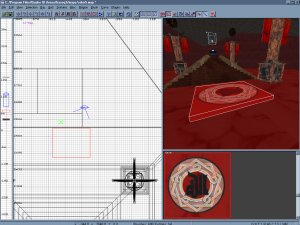
Cover your new brush with the same texture as
your floor. Now select the surface of your new
brush and apply the new texture. Line it up to
your liking and now hit the space bar to clone
the brush. Lower the new brush into the floor
making sure that it's level with the floor surface
and hit the CSG Subtract button on the tool bar.
Hit back space to delete the area.
Custom Textures
Cover your new brush with the same texture as
your floor. Now select the surface of your new
brush and apply the new texture. Line it up to
your liking and now hit the space bar to clone
the brush. Lower the new brush into the floor
making sure that it's level with the floor surface
and hit the CSG Subtract button on the tool bar.
Hit back space to delete the area.
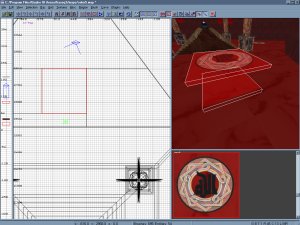 You should see a hole in the floor surface that
matches the texture brush perfectly. Now simply
lower the texture brush into the hole you've just
cut out. That's it! Save, compile, and launch Q3.
You should see a hole in the floor surface that
matches the texture brush perfectly. Now simply
lower the texture brush into the hole you've just
cut out. That's it! Save, compile, and launch Q3.
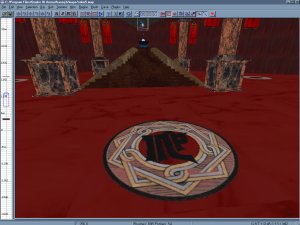 You can see the final results in the image below.
By making your own textures your creative
options are wide open. If you'd like to make a
total conversion using the Q3 engine custom
textures are a must and will really set your work
apart from others just using the defaults from id.
You can see the final results in the image below.
By making your own textures your creative
options are wide open. If you'd like to make a
total conversion using the Q3 engine custom
textures are a must and will really set your work
apart from others just using the defaults from id.