 Teleportation continued . . .
Now it's time to make a destination for you new teleporter.
Deselect the brush you were just working on by hitting the
'esc' key and right click on the wireframe window in the
desired destination. Select the 'target' and then the
'target_teleporter' option. You'll see a little box pop up
that can be moved around. Put the box at around the
same height as the teleporter model and with it still
being selected, right click on your mouse. Select the
'target' option and then 'target_teleporter'. In the key
field enter 'targetname' and in the value field enter
'trans1'. This will match up both entities by using the
same value. Deselect the box by hitting'esc'.
Teleportation continued . . .
Now it's time to make a destination for you new teleporter.
Deselect the brush you were just working on by hitting the
'esc' key and right click on the wireframe window in the
desired destination. Select the 'target' and then the
'target_teleporter' option. You'll see a little box pop up
that can be moved around. Put the box at around the
same height as the teleporter model and with it still
being selected, right click on your mouse. Select the
'target' option and then 'target_teleporter'. In the key
field enter 'targetname' and in the value field enter
'trans1'. This will match up both entities by using the
same value. Deselect the box by hitting'esc'.
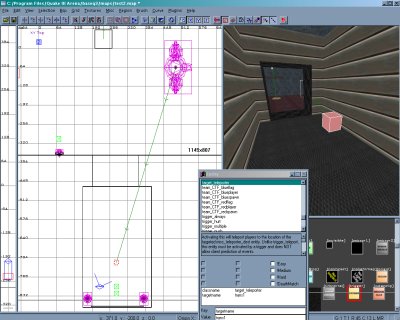
 You should now see a green line going from the teleporter to
your target box. Don't worry if the line goes through walls
and such, it's just a straight line to the target. The only thing
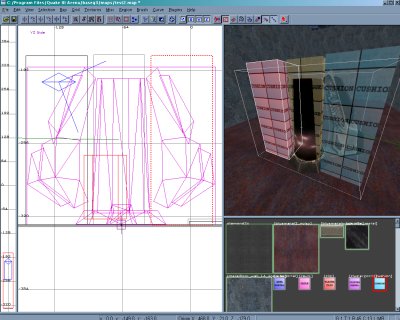
left to do now is to make the sides of the teleporter solid.
Whenever you use models remember that players can
run right through them unless their made solid. The method
that I use is to just draw a brush around the part of the model
you want to block off. Then go up to the textures option in
the toolbar and load the 'common' section. Select the 'cushion'
texture to cover your new brushes and then deslect when
finished. The brushes will be invisible but solid in the game.
You should now see a green line going from the teleporter to
your target box. Don't worry if the line goes through walls
and such, it's just a straight line to the target. The only thing
left to do now is to make the sides of the teleporter solid.
Whenever you use models remember that players can
run right through them unless their made solid. The method
that I use is to just draw a brush around the part of the model
you want to block off. Then go up to the textures option in
the toolbar and load the 'common' section. Select the 'cushion'
texture to cover your new brushes and then deslect when
finished. The brushes will be invisible but solid in the game.
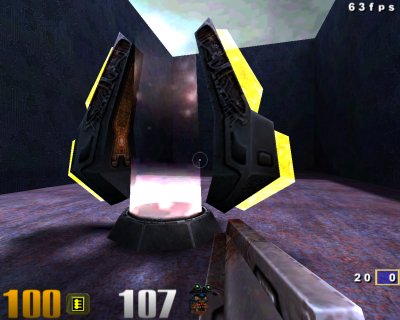
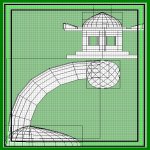
 After compiling and launching Quake you can see the
teleporter in all it's glory and the destination room.
Remember that you can change the direction of your
spawn by hitting the 'n' key and bringing up the enity
menu. The directional keys at the lower left with 180,
360, ect. can be used to control the spawn path.
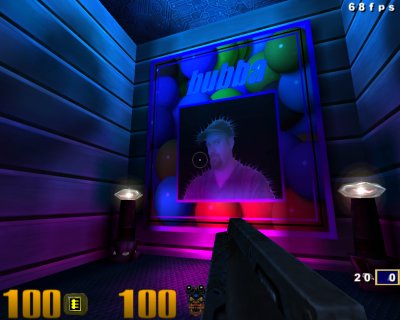
Shameless pimping pictured above :}
After compiling and launching Quake you can see the
teleporter in all it's glory and the destination room.
Remember that you can change the direction of your
spawn by hitting the 'n' key and bringing up the enity
menu. The directional keys at the lower left with 180,
360, ect. can be used to control the spawn path.
Shameless pimping pictured above :}